


Nail polish used to be the only embellishment for your nails and at the most women experimented with colors. From neutral tones and pastel shades, they upgraded to bold colors and shimmery tints. Today, funky and creative nail art has become all the rage. Girls and women accent the base polish with flowers, animal prints, polka dots, stripes and abstract designs.
Nail art looks pretty. However, it can turn out a pricey venture particularly if you change your nail polish regularly to match your outfit. If you are a fan of nail art but don’t have those extra dollars to spend, you can do your nail art at home. This article gives you a glimpse of the different nail art designs you can create at home.
1. Setting the stage
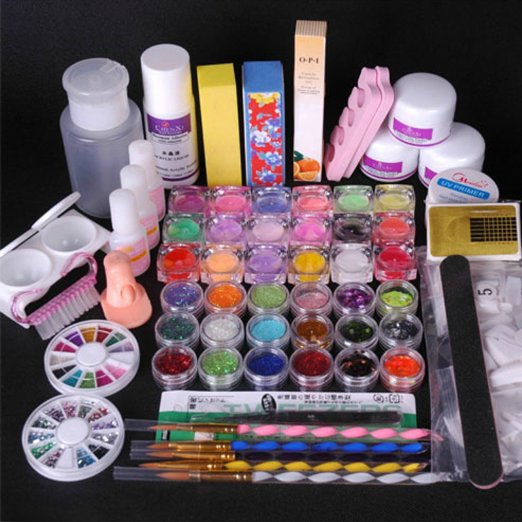
The biggest drawback of getting your nail art done at home is the absence of a comprehensive kit. You may have a handful of tools and equipments in you care and keeping them close at hand before you can start is a must. The essential items you need are:
- A few cotton balls (actually many especially if you are a first-timer).
- A bottle of Acetone or Nail Polish remover (to fix last minute mistakes)
- A plastic sheet to save damage caused by polish spills.
- Dark Nail Polish shade for the base coat
- A bottle of clear, protective polish.
- Brushes and Marbling tools.
- Nail stickers, gems, nail glue and glitter.
- A pair of tweezers.
- A ventilated space to work on your nails. Also, the place should be one that will not be affected by spills.


